DONKEY KONG
• HIDDEN MESSAGE: The following text is hidden in the Japanese game (c_5k_b) at 0xF00:
CONGRATULATION !
IF YOU ANALYSE
DIFFICULT THIS
PROGRAM,WE WOULD
TEACH YOU.*****
TEL.TOKYO-JAPAN
044(244)2151
EXTENTION 304
SYSTEM DESIGN
IKEGAMI CO. LIM.
The same message can be found in the U.S. build, but the first three lines were overwritten.
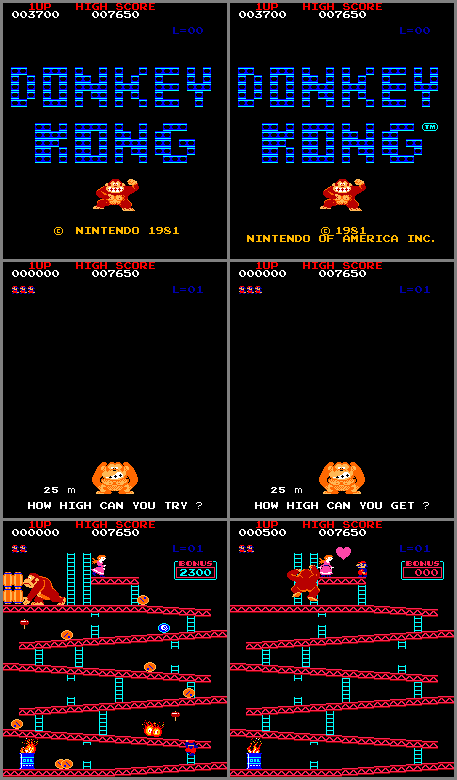
• HIDDEN MESSAGE: Both the logo and name of the company that programmed Donkey Kong, Ikegami Co. Ltd (also known as Ikegami Tsushinki) can be found as unused graphics in the code (pictures #1 and #2). The name as shown in picture #2 is actually coded backwards.
• At least 5 versions exist! The original Japanese version has “© Nintendo 1981” on the title screen (picture #3) and the text “HOW HIGH CAN YOU TRY?” (picture #5) preceding each game screen, instead of “HOW HIGH CAN YOU GET?” (picture #6). This grammatical error was fixed in all later versions (U.S. and Japan). There were 2 versions released in the U.S.; the later one has “© 1981 Nintendo of America, Inc.” on the title screen (picture #4). This is also the only version which doesn’t have the ladder trick (described below). Also, the Japanese versions can only show 4 monkeys (100m) since it always has 4 levels per stage (and in the same order: 1-2-3-4), whereas the U.S. versions shows up to 6 (150m) and in the following order: 1-4 (50m); 1-3-4 (75m); 1-2-3-4 (100m); 1-2-1-3-4 (125m); 1-2-1-3-1-4 (150m). When the game was released in the U.S., it was decided to make the game more difficult. Apparently the Hard kit (dkonghrd) was also an official Nintendo ROM that was released after US set 1 to make the game even harder. Check Service Bulletin TKG-06 Speed up kit #2 for more info; it wasn't very popular with operators though and most people never paid for the upgrade or sent in their boardset for Nintendo to install the hard kit. See this SITE for more info.
• The early red cabinets also had a trick that could be done with a drinking straw to give unlimited gameplay. A straw inserted in the middle outside section of the upper hinge would turn sideways inside the machine and be positioned just above the credit switch. By jiggling the straw up and down, you could get up to 99 credits in seconds.
• The game originally started out with Popeye characters in the roles (Popeye as jumpman/Mario, Bluto as Donkey Kong, and Olive Oyl as Pauline), but due to licensing disagreements with King Features, this idea was scrubbed. King Features later agreed to licensing them to Nintendo when Donkey Kong became popular.
• Some believe Ikegami was contracted to develop the entire game based on concepts designed by Nintendo (from Miyamoto), but the Nintendo vs. Elcon court case downplay's Ikegami's involvement to more along the lines of code refinement and bug fixing. Yet all other evidence seems to point in the direction of Ikegami developing Donkey Kong entirely (as well as other early Nintendo arcade games). Why would Nintendo pay Ikegami some $90,000 (in 1981's dollar) help fix a program, and why would Ikegami's logo be in Donkey Kong's graphics code? This site and Masumi Akagi's 2005 book It Started With Pong claims not only did Ikegami program Donkey Kong, they later sued Nintendo for using their code to develop Donkey Kong Junior without crediting or paying them (1983, Tokyo District Court), but it was not until 1989 that the Tokyo High Court gave a verdict that acknowledged the originality of program code. In 1990, Ikegami and Nintendo reached a settlement, but the terms of which were never disclosed. Allegedly there wasn't nothing more than a verbal contract between the two, which makes Ikegami Tsushinki's involvement in Donkey Kong difficult to pinpoint. If Ikegami's role with Donkey Kong was more significant than Nintendo led everyone to believe, considering Nintendo's lengthy litigious history, this would only be an early example of them silencing a rival.
• Controlling barrels – Don Hodges has an article about the details involved with doing this.
• ”Taunt” maneuver - On rivets screen, get as close to Kong as possible, jump straight up, and push to the right when you are in the air. If you’re in the right spot, you’ll get 100 points! {Mike Robinson}
• It’s possible to somewhat “control” the barrels (on the barrel screen) - if you’re running towards a ladder and a barrel is above you, the barrel will always roll down the ladder.
• When the bonus timer reaches 0, you have a second or 2 before you actually die, so it’s possible to complete any screen w/o earning any bonus points (picture #6).
• The graphics ROM contains an unused sprite of a cement “pie” tipped over (picture #9), hinting that perhaps they were intended to be shown falling off the end of the conveyors? {Jeff Kulczycki}
• A routine in the program determines what objects you've jumped over so that the game can award you points. This check for objects is done when Jumpman reaches the peak of his jump. At that point the code spans a set area to see what objects are under you. Normally the span will check 5 pixels to the left and 5 pixels to the right to check for objects. But, if you're hold the joystick LEFT or RIGHT when this check is being done, you can increase the span to 19 pixels to LEFT and 19 pixels to the RIGHT.
• There's an unused speech sample in the code that's Pauline screaming "Help me!". See this article for more information about it.
• BUG: The instruction sticker below the monitor indicates jump distance is 2 sections of framework, but it’s actually 3.
• BUG: Jumping 1 barrel = 100 points, 2 barrels = 300, and 3 barrels = 500, but jumping 3 actually shows 800 on the screen. This is a bug in the code (LINK).
• BUG: Sometimes you can jump a barrel and receive no points. Points are awarded only at the peak of the jump. When Jumpman reaches the peak of his jump, the program takes a snapshot of the objects under him. There is a narrow area under Jumpman that the objects must be in, in order for the points to be awarded. Therefore it is possible to either jump "too soon" or "too late" and not have the object be within this narrow area when the peak is reached.
• BUG: At the start of the ramp screen, if you run behind the oil drum and jump, you'll die!
• BUG: On the ramps screen, normally when Donkey Kong throws a barrel straight down, it will bounce off each girder, but on rare occasions it'll come straight down w/o bouncing off any. This is due to a check at $20F0 that causes ground hits to be ignored if they happen too close together. How close? Less than 26 pixels (a little over three tile rows). It does this by recording the Y-coordinate every time the barrel hits a girder, and by comparing the current value with the last value. Despite this check, occasionally a barrel will be thrown that drops straight from DK’s hands to the bottom girder without ever hitting any girders in between. This happens because the Y-coordinate is only initialized (zero’d) at the beginning of the board. This means that once a barrel is thrown, it retains the Y-coordinate of the last girder it landed on (this is usually, if not always, the second to last girder). So, when a new thrown barrel reuses a record previously owned by another thrown barrel, the check at $20F0 causes all girders except the last to be ignored. The more barrels that are thrown, the more likely a new barrel will use an old thrown barrel’s record, and the more likely this behavior will occur. {Carl Mueller Jr.}
• BUG: Ladder trick #1: All versions (except the later U.S. release), have a trick in which if you stand on a ladder with one hand visibly touching the girder above you, the barrels can’t roll down the ladder (picture #5). Only a barrel thrown from Donkey Kong or a fireball can kill you when doing this. Nintendo released a service bulletin about it, offering a kit to upgrade the software.
• BUG: Ladder trick #2: On the earliest Japanese version of the game, it's possible to jump off the 2nd girder on the ramps screen and fall through the bottom, wrapping-around to the top and completing the screen (see video).
• BUG: Ladder trick #3: With all of the broken ladders - except the upper-right one - it's possible to climb up them and continue climbing straight up to the top of the screen, which completes the screen (see video).
• BUG: Ladder trick #4: On the conveyor belts screen, it's possible to position yourself on an extension ladder so that you can climb straight down the entire screen and wrap-around to the top, completing the screen (see video).
• BUG: Kill screen - At the start of Level 22 is a “kill” screen – there isn’t enough time to complete the screen. The kill screen occurs because the bonus timer on level 22 is loaded with an initial value that is too short to allow the level to be completed. It's the result of using single byte addition when calculating the initial Bonus Timer value. The equation that the programmers used is: “BonusTimerThousandths = Level Number * 10 + 40”. The error comes in on Level 22 because a single byte cannot be greater then 255. The result then "flips" over to 4 (260-256). Obviously the programmers never considered that people would make it that far. In total, there are 116 playable screens that you can complete before reaching the kill screen - level one has two (2) stages, level two has three (3) stages, level three has four (4) stages, level four has five (5) stages, and levels 6 thru 21 have six (6) stages each, and of these (not including the kill screen) over half are "barrel" stages. The 117th and final stage (level 22-1, a "barrel" stage) offers few opportunities for points (perhaps 400-500 at most) before the timer expires. In January 2025, David Livingston proved it's technically possible to get past this kill screen and reach the rivet screen on level 22, which is the true kill screen. Getting past the level 22 ramp screens involves a combination of using the broken ladder trick and random delays in the code (see video).